WORLD’S BEST FORD SPARK PLUG THREAD REPAIR KIT PART NO.- 5553
Your permanent repair for Ford spark plug blow outs.
Repairs ford heads with a straight section between the threads and taper seat.
Models F-150 can be 1.9, 3.0, 4.6, 5.4, 6.8 liter engines. (click here for inserts type)
Used in 2 valve or 4 valve heads
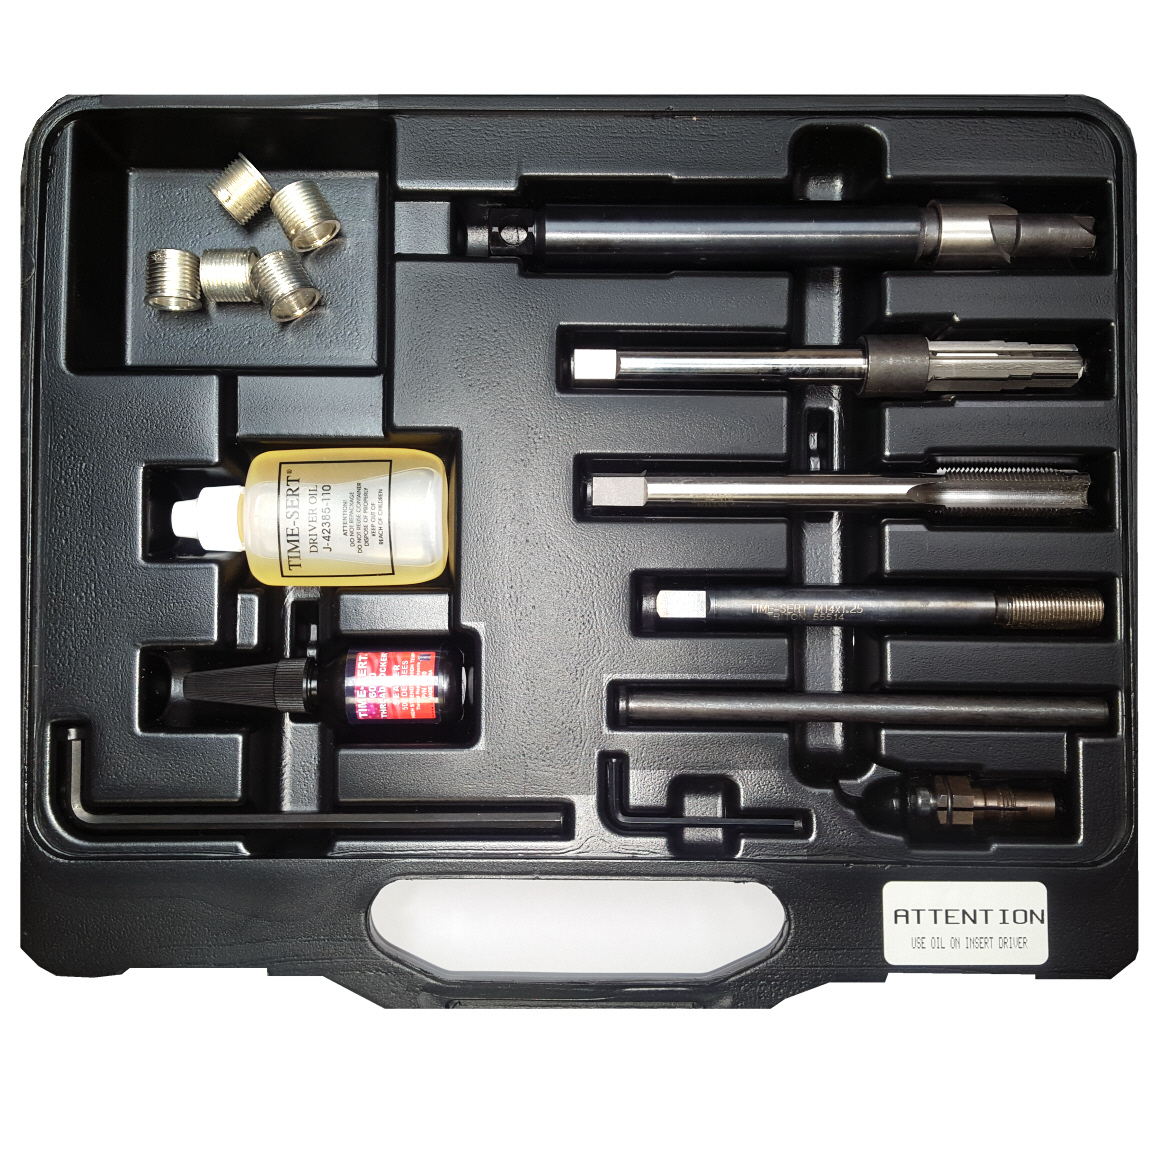
![]()
| Qty | 1 | Wrench | |
| Qty | 1 | Reamer | |
| Qty | 1 | Tap | |
| Qty | 1 | Driver | |
| Qty | 1 | Setting tool | |
| Qty | 1 | hex key 1/8 | |
| Qty | 1 | Triton Counterbore | |
| Qty | 1 | hex key 3/16 | |
| Qty | 1 | Sealer | |
| Qty | 5 | Triton Inserts M14x1.25 | |
| Use kit number 5553-8 for 8 inserts 5553 only includes 5 |
|||
Repair Video on Section View Head Below.
THIS IS THE VERY BEST IN FORD SPARK PLUG THREAD REPAIR KITS.
You DO NOT have to remove the head for this repair.
Professionally repair blown out or stripped spark plug threads in Ford heads.
This spark plug thread repair video will show the installation on a section view of a head.
INSTRUCTIONS
Stop: Check that the valves are not open!
The only 100% way to know the valves are not open is to remove the valve cover and inspect the cam,
making sure that it is not depressing the valves on the damaged spark plug hole.
This kit not recommened for holes larger than .660 inches or 16.8mm use triple oversized kit p/n 5600
An optional way to check that the valves are closed, this is a 2 man job.
Have someone turn the engine over by hand with a 18mm socket from the front of the engine.
Turn the engine over until it is going up on the Compression Stroke. Place your thumb at the top of the
spark plug hole at the same time to block off the air. When you feel the engine compression stop pushing air against your thumb the piston will be top dead center. Turn the engine a little more to be going down on the Power stroke, both valves should be closed at this point, and the piston should be all the way down.
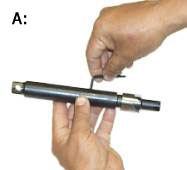
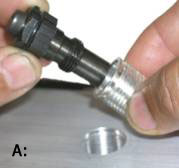
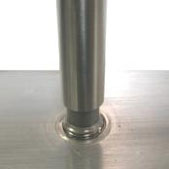
A: Using the wrench provided, tighten the set screw to secure the counterbore in place. Counterbore the hole to the full depth permitted by the tool P/n 55518 picture A: until the counterbore bottoms out on the hole and spins freely.
NOTE: Some engines will require more metal to be removed with counterbore tool than others (e.g 2001 and up RF-1L2E heads or RF-2C5E) Click here for more info.
TIP: Packing the flutes with grease will help to catch stray chips from going into the cylinder.
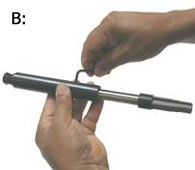
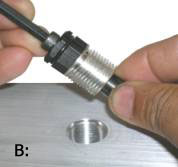
B: Place the Reamer into the square of the wrench and tighten the setscrew to secure the reamer in place.
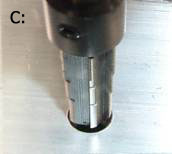
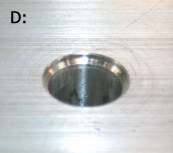
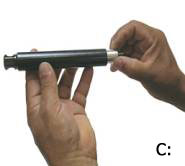
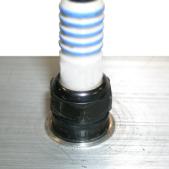
C: Ream the hole until black “Stop Collar” touches head.
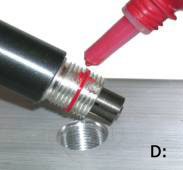
This will creat the 45 degree countersink seen in picture D:
When you start getting close to the stop collar coming in contact with the head, you will want to clean the chips from the reamer so you will have a positive stop on the head without having any chips interfering. The reamer should spin very freely when the collar touches the head.
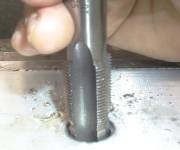
TAP THE HOLE
Tap the hole with the wrench provided. There is a pilot at the front of the tap to help guide it straight into the hole.
Use contact or break cleaners to thoroughly clean out any remaining chips and oil.
Mechanics Tip 1: Packing the flutes with grease will help to catch any stray chips from going into the cylinder.
Mechanics Tip 2: Using a shop-vac with a thin hose taped to the nozzle is helpful removing any remaining chips in the cylinder.
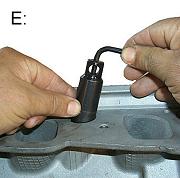
Setting Tool
A: Screw the setting tool into the insert
B: Lightly tighten the socket cap screw
- Using the wrench provided place the setting tool into the wrench
- Place the Lock-tite around the middle of the insert and into the clean prepared hole
Screw the insert into the hole until the flange of the insert is seated into the head. This is approximately 20 foot pounds.

- Hold the wrench, and in a counter-clockwise rotation, untighten the cap screw
with the allen key provided. This will allow the setting tool to release itself from
the insert. - You can now unscrew the setting tool from the insert.

INSERT THE DRIVER TOOL
Using the wrench provided, place the driver tool into the square and tighten the setscrew to secure the driver in place.
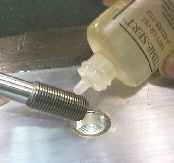
Oil the bottom threads of the insert driver with a few drops of driver oil.
Screw the driver into the insert. The driver will cold form the last few threads of the insert. This is approx. 10 full turns.
While screwing the driver into the insert you will feel the driver start to tighten up, with a little more power continue through the insert until it loosens up. Remove driver, repair complete.
note: Using an air ratchet for counterbore and reamer tools will help speed up the operations, but is not recommended for tapping or driver tool. 
This is your permanent spark plug repair kit for Ford spark plug blow outs.